The Payroll Update module updates Payroll records in a specified date range. Applicable accruals of Holiday, RDO, Sick and Long Service Leave are also updated.
The Payroll update is usually run once a Pay Run is completed. Details of pays are flagged as updated and cannot be changed without being reversed.
If the General Ledger is activated Moveware also processes each Timesheet and validates each General Ledger code as it creates the General Ledger Journals. Any errors that are identified are displayed.
Note: The Pay Period end date is set according to the settings in the Payroll System Management window.
How to Update and Multi-Post Pay Records
In the main menu navigate to Employees > Payroll Update. A list of all pay records that are not updated for the current range displayed in the module (status N) is displayed in the Timesheets tab.
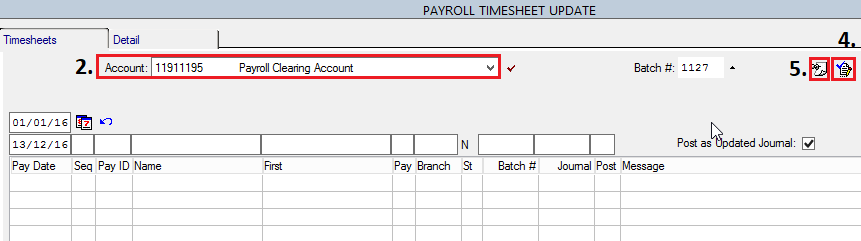
Select the account from which to pay the wages (Electronic Clearing or Payroll Clearing). Click the default account
 icon to set the default account.
Select the required Payroll records (see Searching Records) and navigate to the Detail tab and check the pay amount. Additional timesheet entries may be added if necessary.
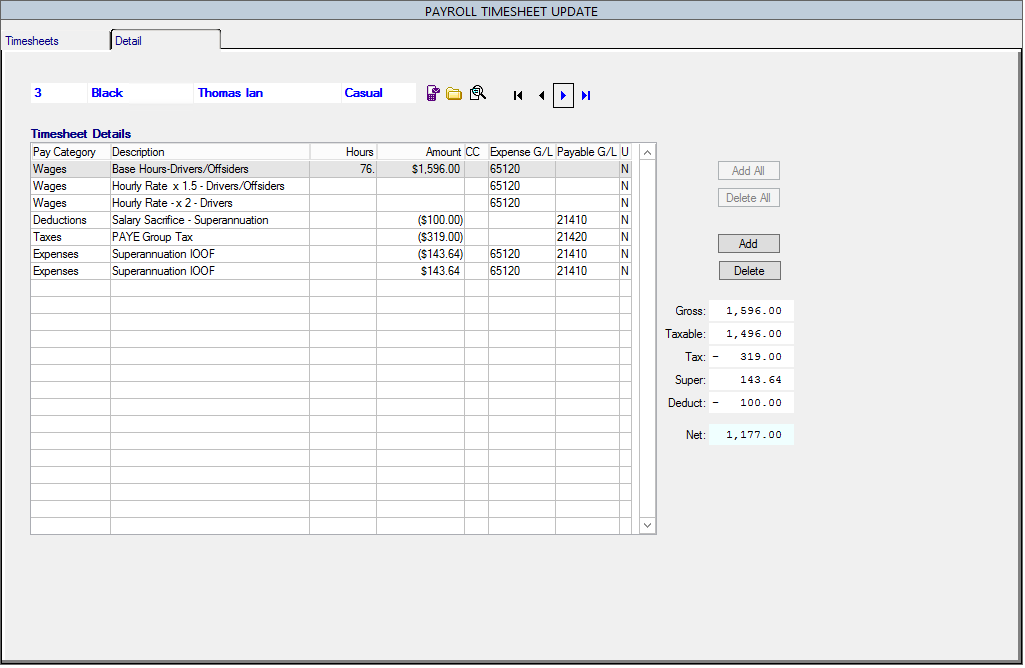
Note: At this stage Cost Centre and General Ledger information can be corrected. If any other timesheet details are incorrect, they must be corrected in the actual Payroll record.Navigate back to the Timesheets tab and select all Payroll records to be updated using the Select All button
 . Check the Post as Updated Journal checkbox if required.
Note: Multiple Payroll records may only be posted together if they are for employees in the same Branch.Click the Post button
 .
.
A Payroll Journal (PJ) is created in the General Ledger for each Payroll record.
Electronic Banking
If employees are to be paid electronically then Moveware provides the capability to generate an electronic banking file to send to your bank.
Select Electronic Banking from the Banking Menu.
Enter the date of the transaction, transaction reference and description at the top of the screen.
Select the Clearing Account and Bank Account that the funds are being transferred from and to. Available transactions will be displayed in the bottom part of the screen.
Select the entries you want to pay by a single click or using the Select All
 button.
Once all the items are entered select Post (top right of screen) to create the journal. You have the choice to post and update the journal at the same time. You will be asked if you want to export the selections to the bank. Use the
 button to create a file without having to post journal.
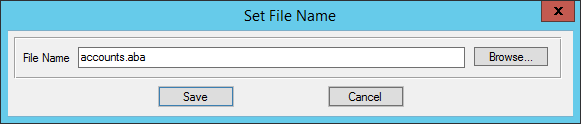
Select Yes on the Export to Bank Dialogue Box and enter the Electronic Banking Filename. The file will be created for import into your banking interface.
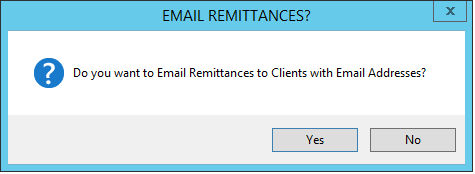
Select No to Email Remittances to Employees.
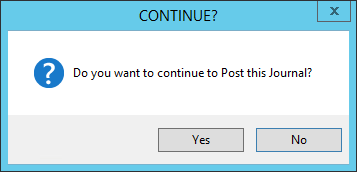
Select Yes to continue to Post this Journal.