There are two ways to assign images to Products/Items that will be visible to Customers.
Through Moveware Dashboards
Through the MovePartner link
Moveware Dashboards
Login to Moveware
Navigate to Window -> My Dashboard
MovePartner Link
In a web browser, navigate to the MovePartner website
Login using the email on your Moveware employee record and Moveware password
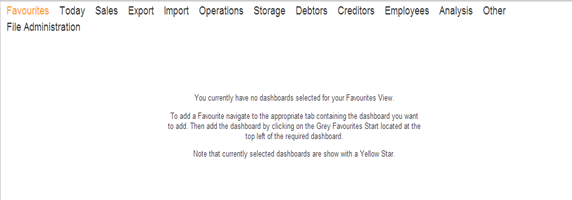
Once logged in, there should be a new menu option with your dashboards called “File Administration” (Only for Moveware user security group “Z”).
On the File Administration page there is a combo box that builds with a list of company codes.

Select the desired company, then click the “Update Images” button.

Select the images you want to upload and let it run.
Handy Tips
Only upload a maximum of 20 files at a time.
If a mistake is made just upload again; the utility will overwrite old images.
When updating an old image, buffers on remote servers may prevent the new image from updating straight away; we would need to check what the delay would be. New files should become usable immediately.
The utility will automatically compress files to a size smaller than or equal to 400x400px, which can be between 20-50kb. If the files are compressed first, they will upload faster.
All filenames and extensions should be lowercase. i.e. “1234.JPG” or “IMG_1234.jpg” will not upload successfully.
The filenames must match the name of the file selected as the default picture for the corresponding object in Moveware. i.e. For product 1234, the filename in Moveware is 1234.jpeg, so the file uploaded onto MovePartner must be named 1235.jpeg.