...
Click on the Add button to create a new Invoice. A Customer Lookup window is opened from which an existing Customer can be selected. Double click the Customer or select it and click OK. Customer information will then be automatically populated into the Invoice header including the Payment Terms. To create a new Customer, refer to Adding New Customers.
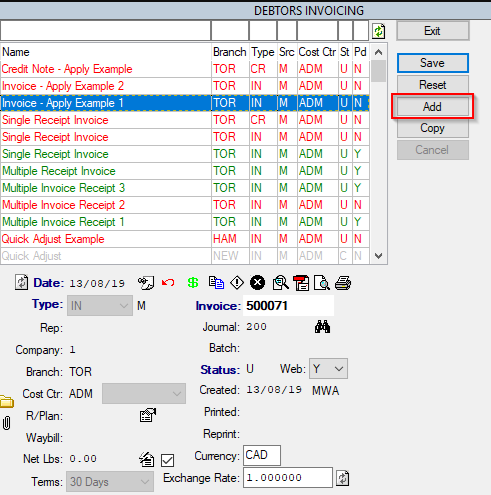
Note: The Type has defaulted to Invoice (IN), the Company, Branch, and Cost Centre are defaulted as per the Users default settings
If the Invoice relates to a specific Job, double click on the R/Plan field. From the resulting list of Jobs, select the required Job. (Note: in most cases, it is quicker to create the invoice from the Invoicing tab of the Jobs screen Create an Invoice in Jobs , as the invoice will then pull information such as the Bill To onto the Invoice).
Enter the Description of the Invoice. This is a mandatory field & will appear in red if not entered when saved.
Enter as much Invoice detail as possible.
Click Save. Mandatory fields will appear red if incomplete. The invoice can only be saved once these fields are completed.
...
Once the header information is saved, Invoice Charges will be added and displayed at the bottom of the Customers Invoicing module. They may be a chargeable item or a comment. The charge line contains the value tax amount and the detail of the Branch, Cost Centre and General Ledger Subcode (usually linked to a revenue account but may be linked to other accounts if necessary) of the charge which is used to determine the General Ledger Account when posting the invoice. The list of available charging options is contained in Job Products.
...
How to Add Details to the Invoice
...